Hi! My name is Emma and I am a senior at Seattle Pacific University in Seattle, Washington where I am studying Human Development and Sociology. I am also an EarthHero Campus Ambassador! I like to call my parents “suburban hippies”. This is a title I coined for them when I realized in high school how different the way I grew up compared to other kids in the suburbs of Atlanta. Didn’t most parents reminisce about their garden at the old house or bake bran muffins on Sundays or grind their own wheat for breadmaking? I quickly realized that this was not the case when I would go to a friend’s house, only to be met with a plethora of packaged snacks like Oreos and Goldfish. While I wish I could tout how my parents pursued all these things to be more environmentally friendly or create less waste, the real reasons came down to saving money. Making your own bread, while being time-consuming, costs less and tastes better than store-bought!
The lessons I learned from my parents, about how to live well in both a healthful and financially-stable way, carried me as I transitioned into my adult, college life. Today, I want to share with all of you just a few of the tips and tricks I have learned to maneuver my way around the kitchen in a budget-friendly way. The best part about it is that many of these simple switches are far more sustainable than their packaged alternatives. Though sustainability was not a goal of my parents, it is a goal of mine and the reasoning behind my implementation of these culinary hacks into my week.
With all that, let’s dive into four of the easiest swaps you can make in the kitchen to save you money and save the planet!
Bread
A lot of us fell into sourdough bread making when we thought quarantine was only going to be a few months long. You might still have a very, very sad and sour starter at the back of your fridge. While I wholeheartedly love sourdough bread, it is a bit of a commitment and one that an inexperienced baker might not want to undertake! So much bread can be made with only a packet of active dry yeast, some flour, water, and a few hours! There are million recipes online, requiring different rising times and kitchen equipment but I have narrowed it down to two that are both delicious and easy to make.

- Minimalist Baker Whole Wheat Loaf – This is a delicious loaf that is a bit healthier because of the whole wheat flour and additional seeds. It’s made in a loaf pan and only takes about 3 hours, making it easily accessible.
- No Knead Loaf – It doesn’t get much easier than this. All you need is a dutch oven and 18-24 hours of letting the dough sit on the counter to create a beautiful, artisan loaf.
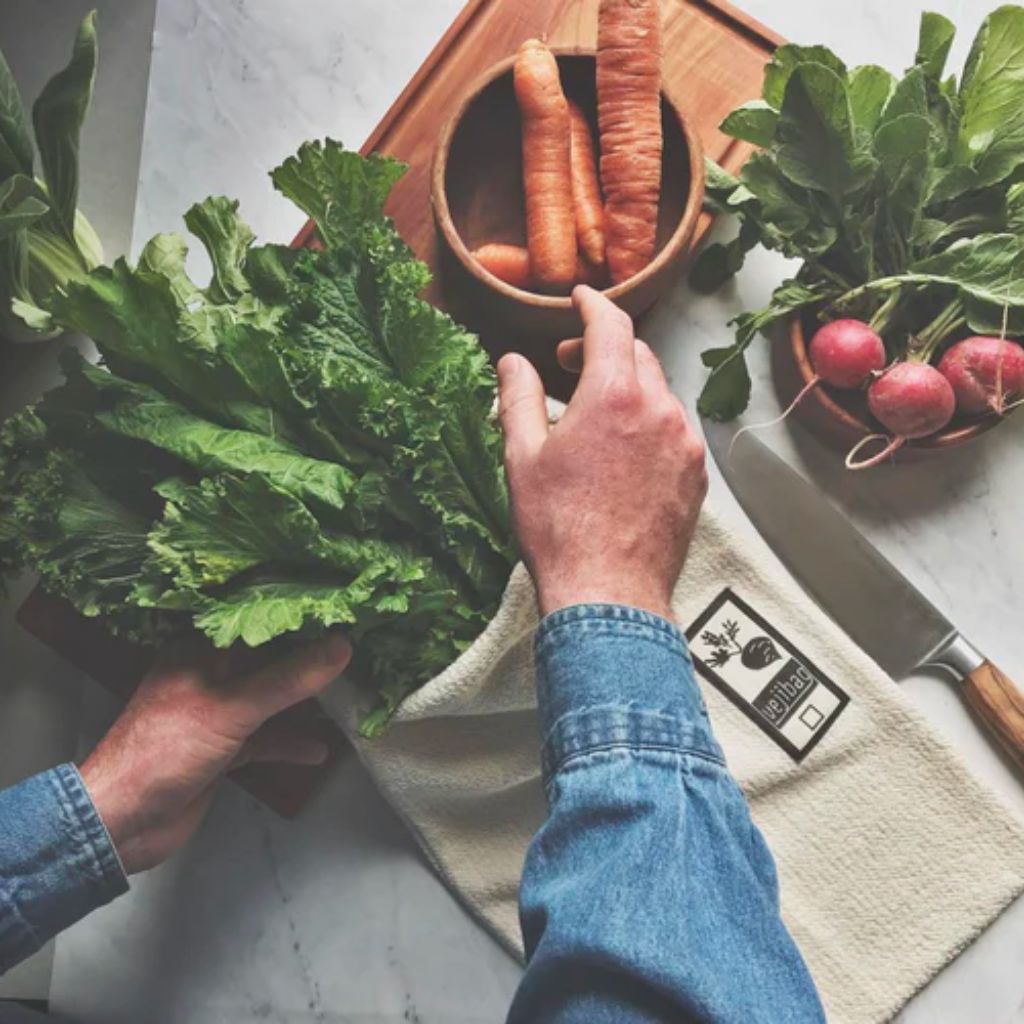
- EarthHero Hack: Once your bread is baked, store it in a cloth Bread Bag or cover it in a Beeswax Wrap!
Vegetable Broth
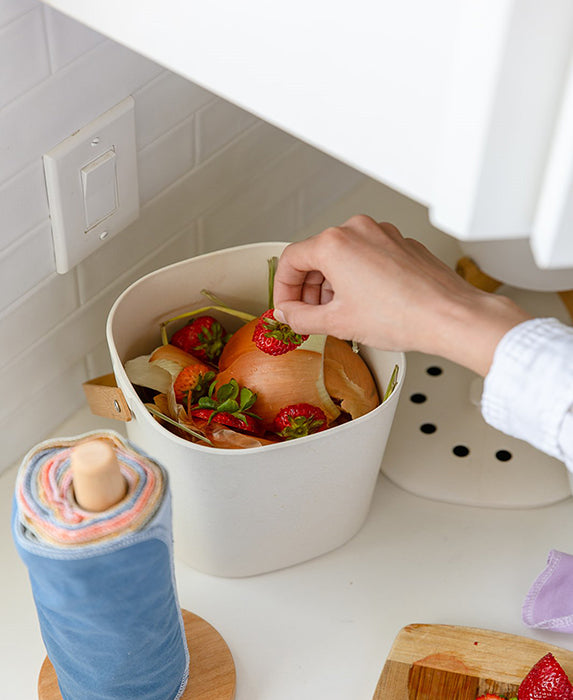
Making homemade veggie broth is probably the simplest thing you could implement to both save money and reduce waste. If you are meat-eater, you can perform similar steps with leftover chicken, turkey or beef bones. All you need to do is keep a gallon-sized Ziploc or Stasher Bag in your freezer and fill it up with carrot tops, garlic and onion skins, celery leaves, potato skins, and herb stems. Once it’s full, I add everything to my Instant Pot with two bay leaves and some black peppercorns and pressure cook it for 30 minutes, followed by a natural release. If you don’t have a pressure cooker, you can accomplish the same thing in a stock pot on the stovetop. Just bring all the scraps to a boil and then let it simmer for a few hours.
Nut Pulp Cookies

I’ve been plant based for a few years and one of easiest ways to save money on a vegan diet is to make your own nut milk. Whether accomplished using a machine like an Almond Cow or by making it yourself with a strainer or this super cool Nut Milk Kit, the product is a richer, more nutritious “milk” that also costs less than the store-bought equivalent. But what to do with the weird pulp leftover from making plant milk? There are a multitude of recipes online but some of my favorite ways to repurpose nut pulp are to freeze it in ice cube trays for smoothies, dry it to use as breadcrumbs, or make it into cookies!
One of my favorite recipes is Caitlin Shoemaker’s Banana Nut Pulp Cookies from the From my Bowl blog and is easily customizable to whatever you have on hand!
Granola
My mom making granola in the kitchen and the delicious smells that accompanied it is one of my most visceral childhood memories. Store-bought granola is often packaged in non-recyclable packaging and can cost up to $7 a bag! Making it at home is a sustainable alternative and also allows you to customize your cereal to whatever you want. I especially love the fact that I can control how much added sugar goes in because it is often quite high in store-bought alternatives.
So, here’s the basic recipe:
- 4 cups of oats, gluten-free if needed
- 1.5 cup chopped nuts and seeds (pumpkin seeds, almonds, pecans, walnuts, sunflower seeds, coconut)
- 1 tsp salt
- ½ cup oil (neutral oil works best but coconut oil also works if you don’t mind the flavor)
- ½ cup liquid sweetener
- 1 tsp vanilla
- ⅔ cup dried fruit

- Preheat oven to 350F and line a large baking sheet with parchment paper or silicone mat.
- In a mixing bowl, combine the oats, nuts and salt. Next, pour in the oil, sweetener and vanilla and mix until everything is coated. Pour the granola onto your prepared pan and spread it in an even layer.
- Bake until golden, about 21 to 24 minutes, stirring halfway
- Let the granola cool completely, undisturbed before mixing in dried fruit. I love big chunks so I tend to break it up with my hands but mixing it with a spoon will result in finer pieces.
- EarthHero Hack: Store it in a stainless steel Large to Go Container to keep it fresh
- Some of my favorites combinations
- Dried apple slices + cinnamon
- Cardamom + maple syrup
- Dates + chocolate chips
- Craisins + walnuts
- Raisins + peanuts
So there we are! Four easy ways to be both more sustainable and save money. Sure, there are plenty of ways to spend money on sustainable products (which I do!) but going back to basics and making things from scratch is a great place to start for those just starting out on their sustainability journey. And even if you’ve been on this journey for a while, hopefully these tips get your brain thinking about other more creative ways to be sustainable in and out of the kitchen! And…
If you are interested in any of these products from EarthHero be sure to use my link https://earthhero.com/?ref=emmabrand and use code EHAmbassador for 10% off! Want to apply to be an Campus Ambassador? Click here!

